Raspberry Pi and Geckoboard – A Definitive Guide
Wondering how to get started and get your dashboard up and running correctly the first time around? Look no further. I’ve put together many dashboards but no tutorial out there really addresses all the issues you might when configuring your RasPi (Rasbian Wheezy). In an effort to keep everything straight for the businesses I work with, I decided I’d put this online to benefit myself and others.
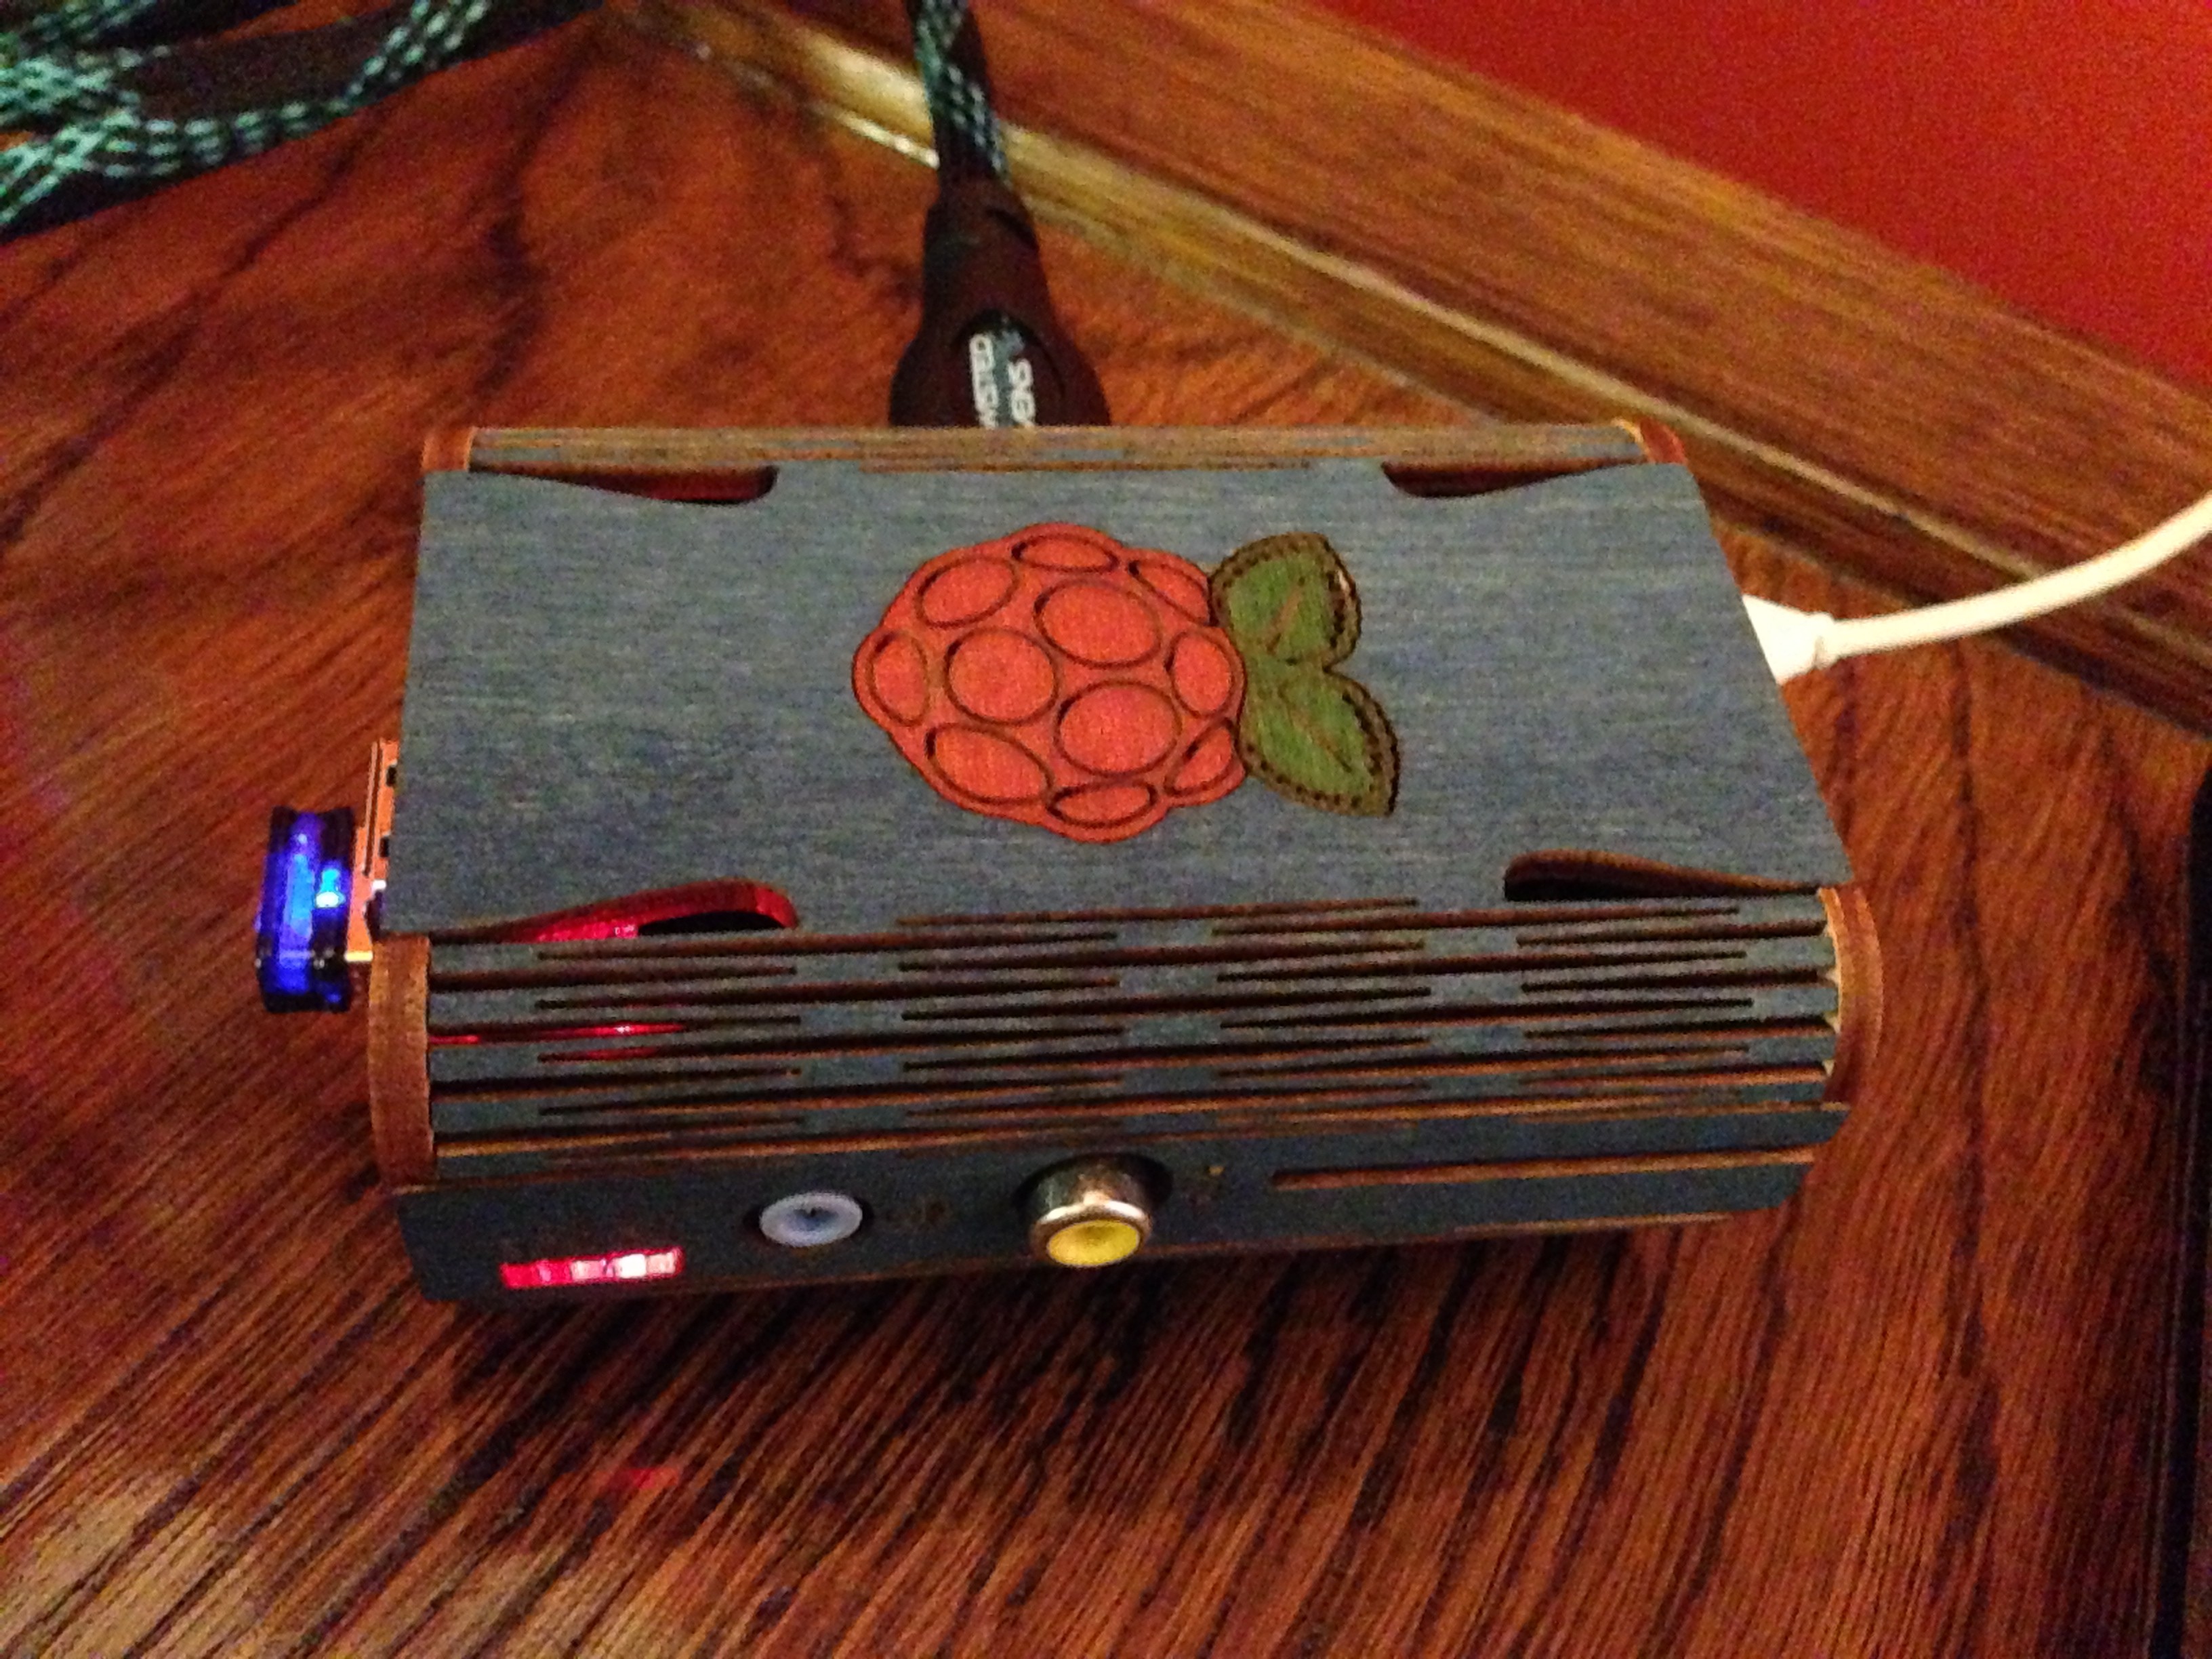
Pick Your Raspberry Pi
Head over to amazon and picking one up. Make sure you’ve got the RasPi, an SD card, Edimax EW7811Un 150 mbps wireless 11n nano size usb adapter, a micro usb cable/power supply, and a HDMI cable. *Getting a faster SD card will drastically speed up your new Raspberry Pi. An 8gb SD card with a speed of 45 mb/s is what I’d recommend as of June 2014. You can get a pre-loaded RasPi SD NOOBS card to lessen the initial setup.
Intro to Set up
Setting up your new RasPi can be fast, but you don’t want to skip over some important bits that can alleviate headaches down the road (especially if you’re going to make an image of your Pi to put on other Pi’s). This is where the Raspberry Pi and Geckoboard – A Definitive Guide comes in. Follow these steps for the best results, and please, let me know if you’ve figured out a better way to do any of the steps I’ve suggested! For this tutorial, I will assume you have an SSH client and can perform basic SSH commands.
Card Set Up
- OSX users grab ApplePi Baker, Linux users grab (TBD), Windows users grab (TBD).
- If you didn’t purchase a SD card with NOOBS pre-loaded, and you’re using Windows/Linux, head over and grab the Raspbian NOOBS image.
- Load the SD card into your computer.
- Boot up the software you chose in step 1 and write the RasPi NOOBS IMG to your SD card.
- Once finished, eject your SD card.
Hardware Set Up
- Put your SD card into your RasPi SD card slot.
- Plug your Edimax WiFi card into a USB port on your RasPi.
- Plug your RasPi into your monitor using the HDMI port.
- Plug in a Keyboard if you don’t know how to find your RasPi’s IP via your wireless router.
- Power up the RasPi via the micro USB port.
Get Into Your Pi
Once you’re RasPi is online, either SSH in using the below commands after finding your RasPi’s IP via your wireless router, or pull up that keyboard mentioned in the Hardware Set Up (Step 4).
ssh pi@192.168.x.x (whatever your IP is)
password: raspberry
Software Updates & Installs
Now that you’re in, you’re going to want to make sure all software is updated by typing the following commands into your console:
sudo apt-get update
sudo apt-get dist-upgrade
Install the software you’ll need to run your Geckoboard, then restart by typing the following command into your console:
sudo apt-get install chromium x11-xserver-utils ttf-mscorefonts-installer unclutter
sudo reboot
If you’re unable to install chromium and get this error “E: Package ‘chromium’ has no installation candidate”, then try installing via this link or checking out the below instructions by Axel Beckert.
To add the Chromium PPA to your Raspbian Jessie or Debian Jessie on a Raspberry Pi 2 or 3 (won’t work on the Raspberry Pi 1), add the vivid version of https://launchpad.net/~canonical-chromium-builds/+archive/ubuntu/stage to your:
/etc/apt/sources.listor create a new file at
/etc/apt/sources.list.d/chromium-ppa.listwith the two following lines (leaving the one commented out):
deb http://ppa.launchpad.net/canonical-chromium-builds/stage/ubuntu vivid main
#deb-src http://ppa.launchpad.net/canonical-chromium-builds/stage/ubuntu vivid main
Now type:
sudo apt-key adv --keyserver keyserver.ubuntu.com --recv-keys DB69B232436DAC4B50BDC59E4E1B983C5B393194sudo apt update
sudo apt install chromium-browserWiFi Static IP Address Set Up
Now that we’ve got the software updated and installed, we need to give your RasPi a static IP address so you can SSH into it easily. First, you’ll want to make sure you reserve an IP address for your RasPi, and jot down the IP to reference it later. (I’m not going to go over that in this tutorial as all routers have different interfaces) Then, open up your network interfaces file by typing the following command into your console (we’re going to use nano for this tutorial):
sudo nano /etc/network/interfaces
There’s likely to be a few lines of code in here already. Get rid of that and copy/paste this:
auto wlan0
iface lo inet loopback
iface eth0 inet dhcp
allow-hotplug wlan0
iface wlan0 inet static
address 192.168.x.x
netmask 255.255.255.0
gateway 192.168.x.1
wpa-conf /etc/wpa_supplicant/wpa_supplicant.conf
iface default inet dhcp
Make sure the address is the IP you reserved for your RasPi, and the netmask and gateway are set to your routers’ netmask and gateway. Save your changes by pressing ctrl+x, type “Y”, and then press Enter/Return. Next, open up your wpq_supplicant.conf file and enter your network settings. Do this by typing:
sudo nano /etc/wpa_supplicant/wpa_supplicant.conf
You’ll want to delete anything currently in that file, and then copy/paste this in:
ctrl_interface=DIR=/var/run/wpa_supplicant GROUP=netdev
update_config=1
network={
        ssid="YOUR_WIRELESS_NETWORK_NAME"
        psk="YOUR_WIRELESS_NETWORK_PASSWORD"
        proto=RSN
        key_mgmt=WPA-PSK
        pairwise=CCMP
        auth_alg=OPEN
}
Save your changes by pressing ctrl+x, type “Y”, and then press Enter/Return. Again, reboot your RasPi and make sure that it now shows up on your wireless network with the correct IP address as it should. If not, repeat the steps in the WiFi IP Address Set Up.
Assure Your Network Connection
Next we need to make sure we have an internet connection before launching chromium. We’re going to do this with an awesome little Python script that Steven N mentions in Stack Overflow. First create & open your python file by typing this into your console:
sudo nano /boot/IPcheck.py
Then, copy/paste this:
import socket
from time import sleep

def checknetwork():
    ip = False
    try:
        s = socket.socket(socket.AF_INET, socket.SOCK_DGRAM)
        s.connect(('google.com', 0))
        ip = s.getsockname()[0]
        s.close()
    except socket.error:
        return False
    else:
        return ip

def main():
    x = checknetwork()
    while x == False:
        print "Checking network ..."
        x = checknetwork()
        sleep(1)
Save your changes by pressing ctrl+x, type “Y”, and then press Enter/Return. Next make the file executable by typing:
sudo chmod +x /boot/IPcheck.py
Then, launch this file on startup by typing…
sudo nano /etc/rc.local
…and copy/pasting in this line of code to that file just below the line that says “# By default this script does nothing.”:
/usr/bin/python /boot/IPcheck.py
Save your changes by pressing ctrl+x, type “Y”, and then press Enter/Return. This file will now execute on load and insure you have a connection to the internet before launching chromium!
Screen/Monitor Set up
We need to make sure that your monitor is showing your RasPi without any black space. We want that picture to go to the edges of the monitor. To do this, we’re going to adjust some settings in the config file, which you can now open by typing:
sudo nano /boot/config.txt
Once in the file, we’ll want to change it to look like this (note the blue text):
# uncomment if you get no picture on HDMI for a default "safe" mode
#hdmi_safe=1
# uncomment this if your display has a black border of unused pixels visible
# and your display can output without overscan
disable_overscan=1
# uncomment the following to adjust overscan. Use positive numbers if console
# goes off screen, and negative if there is too much border
#overscan_left=16
#overscan_right=16
#overscan_top=16
#overscan_bottom=16
# uncomment to force a console size. By default it will be display's size minus
# overscan.
#framebuffer_width=1920
#framebuffer_height=1080
# uncomment if hdmi display is not detected and composite is being output
#hdmi_force_hotplug=1
# uncomment to force a specific HDMI mode (this will force VGA)
#hdmi_group=1
#hdmi_mode=1
# uncomment to force a HDMI mode rather than DVI. This can make audio work in
# DMT (computer monitor) modes
#hdmi_drive=2
# uncomment to increase signal to HDMI, if you have interference, blanking, or
# no display
config_hdmi_boost=4
# uncomment for composite PAL
#sdtv_mode=2
#uncomment to overclock the arm. 700 MHz is the default.
arm_freq=900
# for more options see http://elinux.org/RPi_config.txt
core_freq=250
sdram_freq=450
over_voltage=6
Save your changes by pressing ctrl+x, type “Y”, and then press Enter/Return. In doing this, we have just disabled the overscan settings of your monitor, insured a strong HDMI connection (having a weak signal has given me issues before on some tv’s), and overclocked your RasPi to 900 mhz to make it a bit snappier.
Always Show Your Dashboard
We don’t want the screen saver coming on, the screen going to sleep or other stuff like that, and that. So we need to make some more changes. Type the following into your console:
sudo nano /etc/xdg/lxsession/LXDE/autostart
Delete anything in there and make sure it looks like this:
@lxpanel --profile LXDE
@pcmanfm --desktop --profile LXDE
@xset s off
@xset -dpms
@xset s noblank
@sed -i 's/"exited_cleanly": false/"exited_cleanly": true/' ~/.config/chromium/Default/Preferences
Save your changes by pressing ctrl+x, type “Y”, and then press Enter/Return. Next we’ll open up lightdm.conf by typing:
sudo nano /etc/lightdm/lightdm.conf
Make sure this line exists and is uncommented (without the # symbol) under the [SEATDEFAULTS] section:
xserver-command=X -s 0 dpms
Save your changes by pressing ctrl+x, type “Y”, and then press Enter/Return.
Launch Your Dashboard Using Chromium
Wow, that was a lot of typing. Still with me? Great! It’s finally time to launch your dashboard. For this, you’ll need the URL of the dashboard you’re trying to load. Assuming you’re using Geckoboard, you’ll want to go to your dashboard and click the share icon, make sure it’s unlocked, and copy that URL. First, open up your config file by typing:
sudo nano ~/.config/lxsession/LXDE/autostartUse the below path for raspi 2
sudo nano ~/.config/lxsession/LXDE-pi/autostart
*Note: You may need to create some or all of the folders in the ~/.config/lxsession/LXDE/ path for the step above. To find out if you need to do this type:
cd ~/.config/If that folder doesn’t exist, type:
mkdir ~/.config/Do this for any of the folders that don’t exist.
Next, delete the contents of that file and copy/paste this in and change the URL to be whatever page you want to load (dashboard or otherwise):
chromium --kiosk --disable-overlay-scrollbar --noerrdialogs --incognito https://your.geckoboard.com/url/goes/here
unclutter -idle 0
Save your changes by pressing ctrl+x, type “Y”, and then press Enter/Return.
Start Up
This is the last bit! On startup, we want our RasPi to boot to the desktop. To do this, type:
sudo raspi-config
When the interface comes up, use the arrow keys to navigate to the number 3 option and press enter. Arrow down to the “Desktop login as user Pi…” option and press enter, then choose the “Restart Now” option.
Tweak the Display
Once your RasPi reboots, you may have to change a few things to get the display sized correctly. To do this type:
sudo nano /boot/config.txt
For these tweaks you’ll need to uncomment some or all of the following, along with possibly changing the numbers.
Positive numbers should be used if the picture is off the screen.
Negative numbers should be used if the picture is not close enough to the edge of the screen.
#overscan_left=16
#overscan_right=16
#overscan_top=16
#overscan_bottom=16
#framebuffer_width=1920
#framebuffer_height=1080
If you’re not able to get it to position correctly, or need an automatic way to adjust the RasPi resolution, check out Stewart’s fix.
Congratulations! You’ve successfully set up your first RasPi dashboard! Use that program (Apple Pi Baker or one of the others) to make a disk image so you can later image this setup to new SD cards (the cards should be the same size as the image you make for maximum compatibility). If there is some other tip/trick/better way to do something, please feel free to comment and let me know. I would also like to credit a lot of my knowledge in this to all of the other tutorials out there that got me started. I learned a lot from them and wanted to give a shout out to all of the other folks that put in work on those tutorials!