This cinnamon raisin bread is a family favorite. It's quick to prep and works well for breakfast toast, sandwiches, or as a side.
A scale.
A pitcher to hold your water and yeast mixture.
Two 6 quart cast Iron dutch ovens with lids.
Two proofing baskets and thin hand towels.
Fill your pitcher with 760g of water.
Mix 1000g of flour, 12g cinnamon, and 22g salt in the 6 qt container. Usually I'll toss it all in, put the lid on and shake it up. Then to get the the ingredients off the lid and sides, I'll slam the whole thing on the counter (gently-ish) and let gravity do that work for me.
Now that your yeast is activated a bit, add the yeast and water mixture to your dry ingredients.
Mix by hand. To do this, spread your fingers out, grab a bunch of the dough and squeeze your fingers into a fist; essentially grabbing the dough over and over.
Once that gritty feeling the salt is 70% gone, add the raisins. The amount of raisins can vary, but the more you put in, the heavier the bread becomes, and the less it will rise. I find 1/3 cup to be a decent amount that gives you an ok rise while also having enough raisins in the bread so you get around 6-8 in each slice.
Once all raisins are mixed in, let sit for 10 Minutes or until the dough has settled to the outside of the container.
Fold the dough, turn it over and let sit 10 Minutes or until the dough has settled to the outside of the container.
Fold the dough a second time, turn it over and let sit 15 Minutes or until the dough has settled to the outside of the container.
Fold the dough a third time, turn it over and let sit 25 Minutes or until the dough has settled to the outside of the container.
Fold the dough for a fourth and final time, turn it over and let it rise until it's reached the top of the container or tripled in size. I often start this in the morning and let rise during the day, or start in the evening and let it rise overnight.
Once risen, clean and flour a surface and your hands. Gently pull the dough out of the container onto your floured area, trying to not burst any of the lovely bubbles.
Dust the dough with flour.
Use flour and dust a line down the center of the dough in order to make it easier when dividing the dough in half with a dough cutter or bread knife.
Divide the dough in half.
Fold the dough for a last time and turn it over.
Gently "tuck" the edges of bottom side of the dough inward by using the tucking and rotating method.
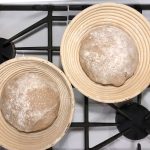
Get out two proofing baskets and dust them with flour. If you don't have proofing baskets, you can use any two large bowl by draping a thin towel on the inside of the bowl and then flouring that.
Gently pick up each loaf of dough and set them in the proofing baskets the same way they were sitting on the floured surface.
Cover them with a thin cloth or towel and let them rise for about 1 Hour or 1 Hour and 15 minutes. If you can press your finger into the dough and it springs back, you are safe, you haven't over proofed it. If you let it sit too long it will over proof and you won't get a good rise. So start checking at about 1 hour. Make sure to read the next step.
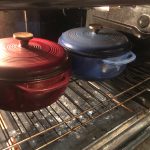
Make sure to start pre-heating your dutch ovens to 405°F when your 60 minute timer goes off or even a bit sooner.
Once your bread has proofed, you should be ready to bake. Carefully take out your dutch ovens (they're HOT!), remove the lids, and place bread in with the tucked under side now facing upward. I find this easiest to do by placing my open hand on the top of the dough when it's in the proofing basket and tipping it out onto my hand. Then setting it in the dutch ovens being careful to not touch the cast iron at all.
Replace the lid on the dutch ovens, put them back in the oven, and set a timer for 30 Minutes.
Once your timer goes off, remove the lids on the dutch ovens and let them bake for another 4 Minutes. You're getting the outside crust a bit crispier here. If it's not to your liking you can increase or decrease this time as you see fit.
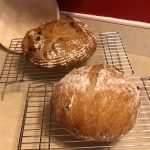
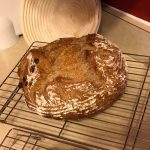
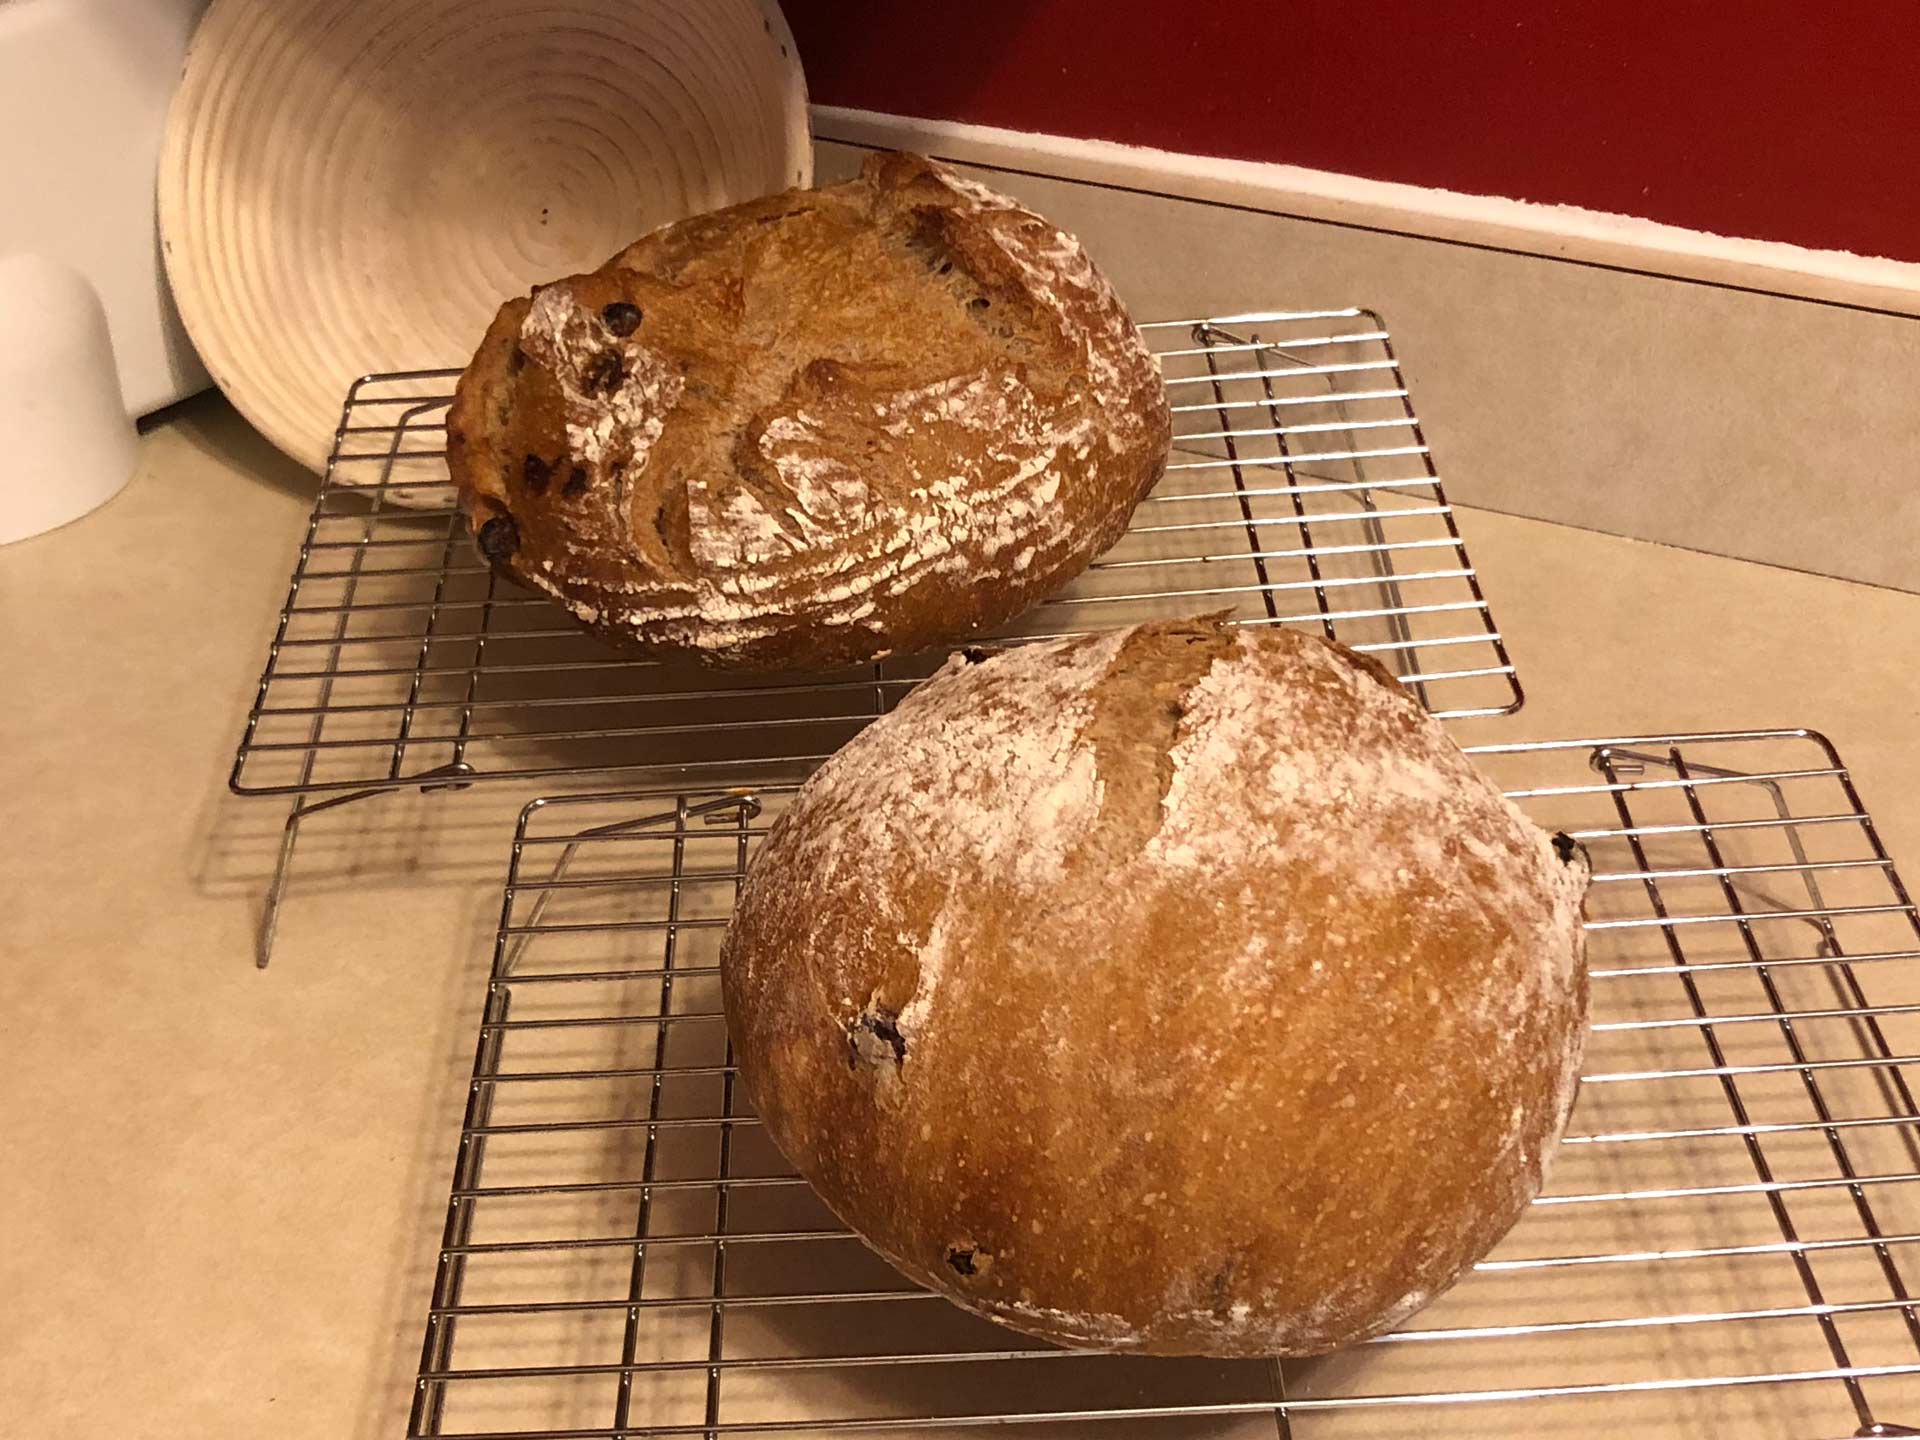
Once your timer goes off, remove the dutch ovens from the oven, take out the bread and let cool on a cooling rack for at least 3 hours before placing them in 1 gallon ziplock bags (or whatever your storage solution is).
If you don't plan to eat both right away, you can easily place one in the freezer right away and pull it out later.
Ingredients
Directions
A scale.
A pitcher to hold your water and yeast mixture.
Two 6 quart cast Iron dutch ovens with lids.
Two proofing baskets and thin hand towels.
Fill your pitcher with 760g of water.
Mix 1000g of flour, 12g cinnamon, and 22g salt in the 6 qt container. Usually I'll toss it all in, put the lid on and shake it up. Then to get the the ingredients off the lid and sides, I'll slam the whole thing on the counter (gently-ish) and let gravity do that work for me.
Now that your yeast is activated a bit, add the yeast and water mixture to your dry ingredients.
Mix by hand. To do this, spread your fingers out, grab a bunch of the dough and squeeze your fingers into a fist; essentially grabbing the dough over and over.
Once that gritty feeling the salt is 70% gone, add the raisins. The amount of raisins can vary, but the more you put in, the heavier the bread becomes, and the less it will rise. I find 1/3 cup to be a decent amount that gives you an ok rise while also having enough raisins in the bread so you get around 6-8 in each slice.
Once all raisins are mixed in, let sit for 10 Minutes or until the dough has settled to the outside of the container.
Fold the dough, turn it over and let sit 10 Minutes or until the dough has settled to the outside of the container.
Fold the dough a second time, turn it over and let sit 15 Minutes or until the dough has settled to the outside of the container.
Fold the dough a third time, turn it over and let sit 25 Minutes or until the dough has settled to the outside of the container.
Fold the dough for a fourth and final time, turn it over and let it rise until it's reached the top of the container or tripled in size. I often start this in the morning and let rise during the day, or start in the evening and let it rise overnight.
Once risen, clean and flour a surface and your hands. Gently pull the dough out of the container onto your floured area, trying to not burst any of the lovely bubbles.
Dust the dough with flour.
Use flour and dust a line down the center of the dough in order to make it easier when dividing the dough in half with a dough cutter or bread knife.
Divide the dough in half.
Fold the dough for a last time and turn it over.
Gently "tuck" the edges of bottom side of the dough inward by using the tucking and rotating method.
Get out two proofing baskets and dust them with flour. If you don't have proofing baskets, you can use any two large bowl by draping a thin towel on the inside of the bowl and then flouring that.
Gently pick up each loaf of dough and set them in the proofing baskets the same way they were sitting on the floured surface.
Cover them with a thin cloth or towel and let them rise for about 1 Hour or 1 Hour and 15 minutes. If you can press your finger into the dough and it springs back, you are safe, you haven't over proofed it. If you let it sit too long it will over proof and you won't get a good rise. So start checking at about 1 hour. Make sure to read the next step.
Make sure to start pre-heating your dutch ovens to 405°F when your 60 minute timer goes off or even a bit sooner.
Once your bread has proofed, you should be ready to bake. Carefully take out your dutch ovens (they're HOT!), remove the lids, and place bread in with the tucked under side now facing upward. I find this easiest to do by placing my open hand on the top of the dough when it's in the proofing basket and tipping it out onto my hand. Then setting it in the dutch ovens being careful to not touch the cast iron at all.
Replace the lid on the dutch ovens, put them back in the oven, and set a timer for 30 Minutes.
Once your timer goes off, remove the lids on the dutch ovens and let them bake for another 4 Minutes. You're getting the outside crust a bit crispier here. If it's not to your liking you can increase or decrease this time as you see fit.
Once your timer goes off, remove the dutch ovens from the oven, take out the bread and let cool on a cooling rack for at least 3 hours before placing them in 1 gallon ziplock bags (or whatever your storage solution is).
If you don't plan to eat both right away, you can easily place one in the freezer right away and pull it out later.
